Advice and answers from the Rixbo Team
Manage Sales allows admins to track, process, and monitor all transactions in one place. Admins can view sales history, update orders, and generate invoices quickly. It works through an intuitive dashboard, making sales operations smooth and accurate. This boosts efficiency, improves reporting, and ensures a seamless checkout experience for customers.
Log in to the Admin panel and open the Dashboard.
Navigate to POS from the left menu.
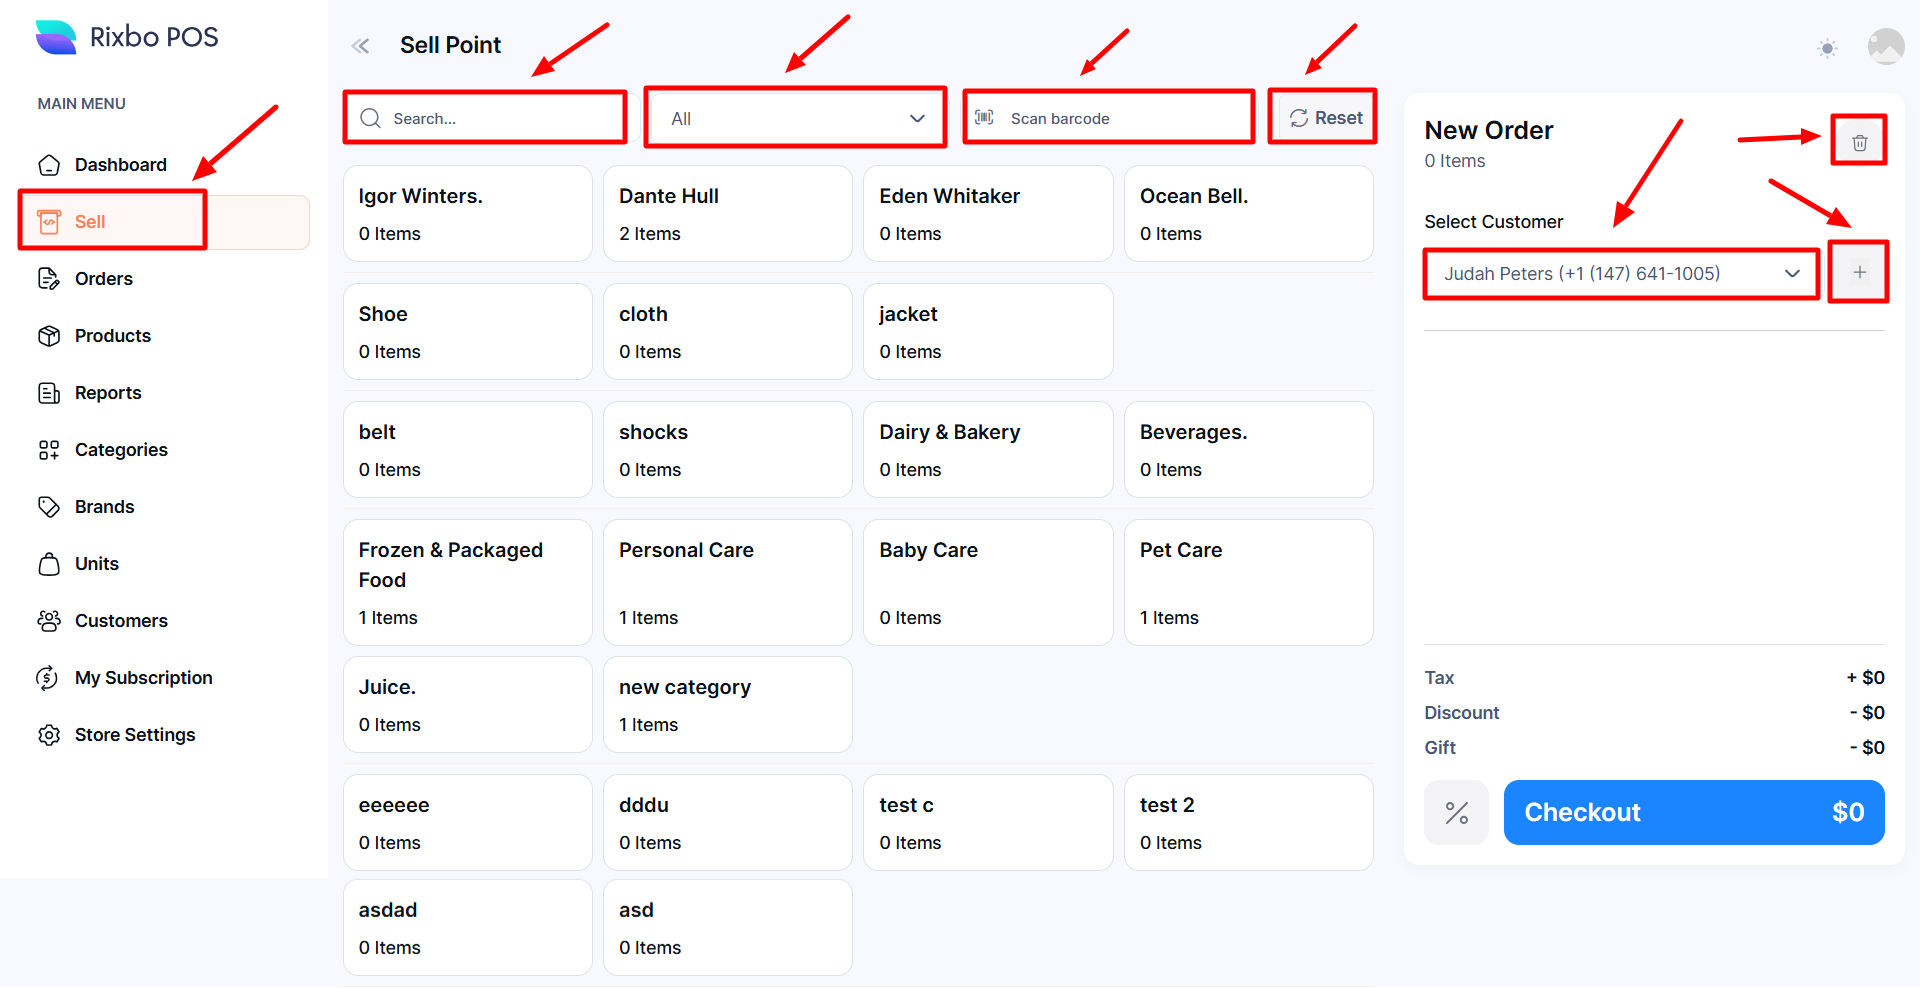
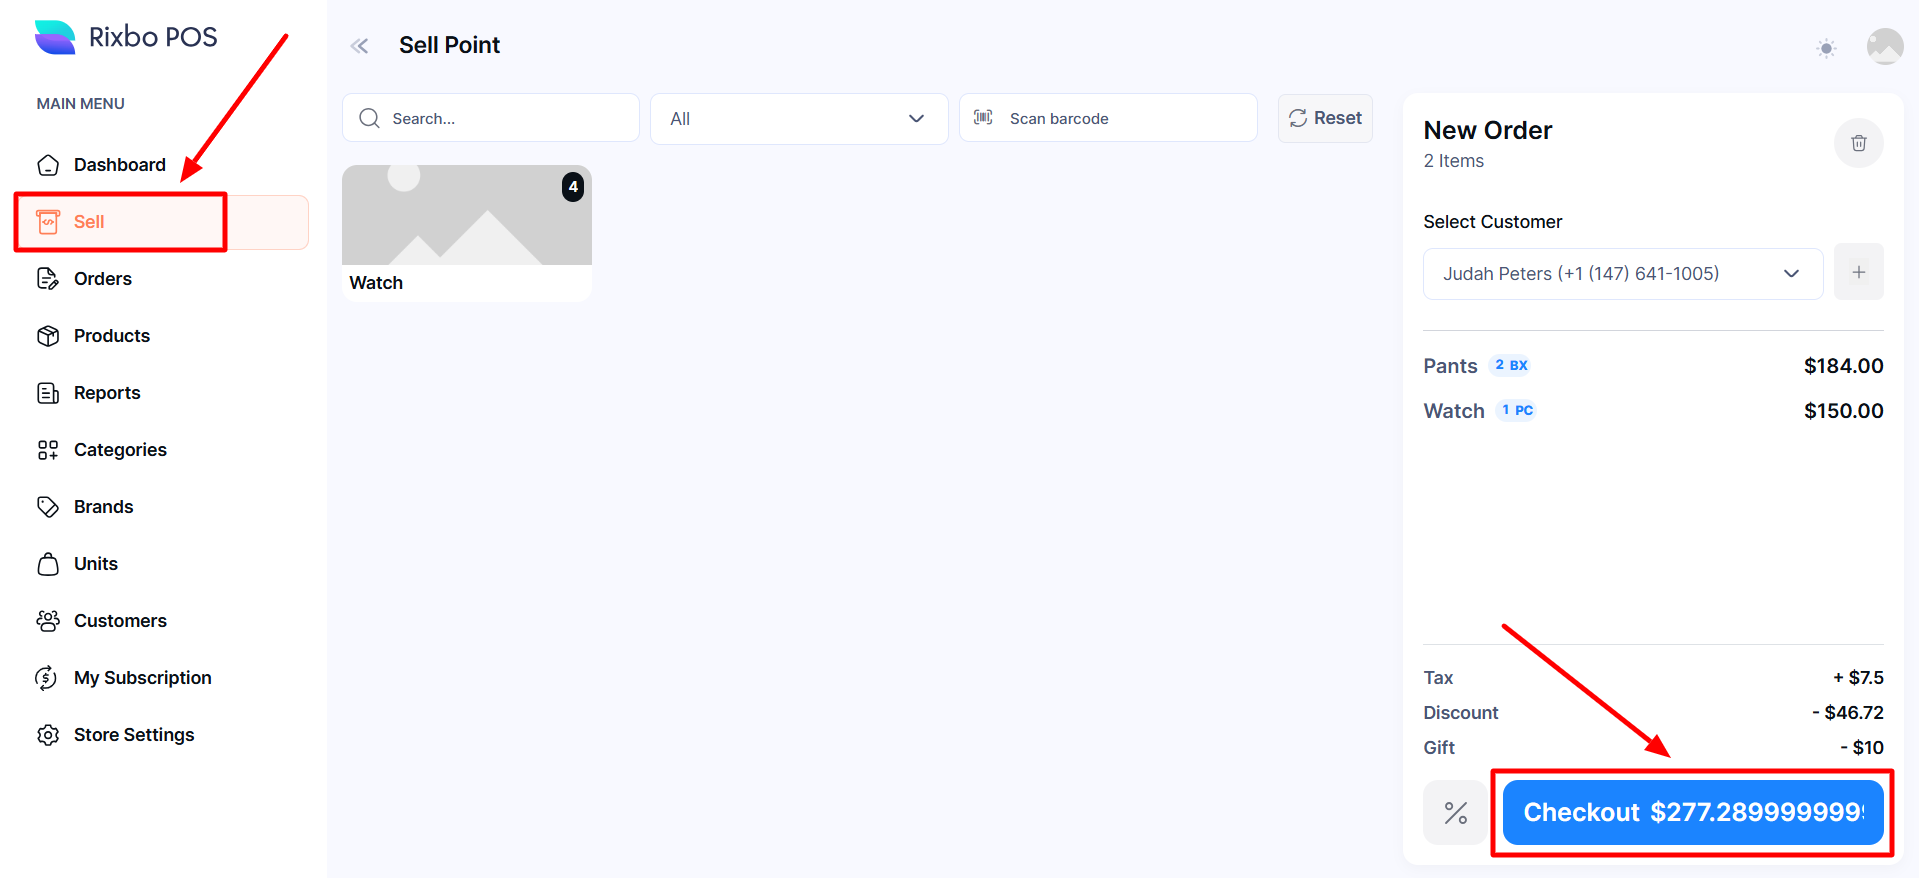
Finally, click Sell from the left menu, and a new window will appear.
Click the Search button and type the desired Name to view.
Click the All button and select the product category from the drop-down arrow.
Click the Barcode Scanner button and select your product information.
Click the Reset button to reorganise the tile.
Click on the chosen Tile, and relevant items will appear automatically.
Select the Customer from the dropdown menu
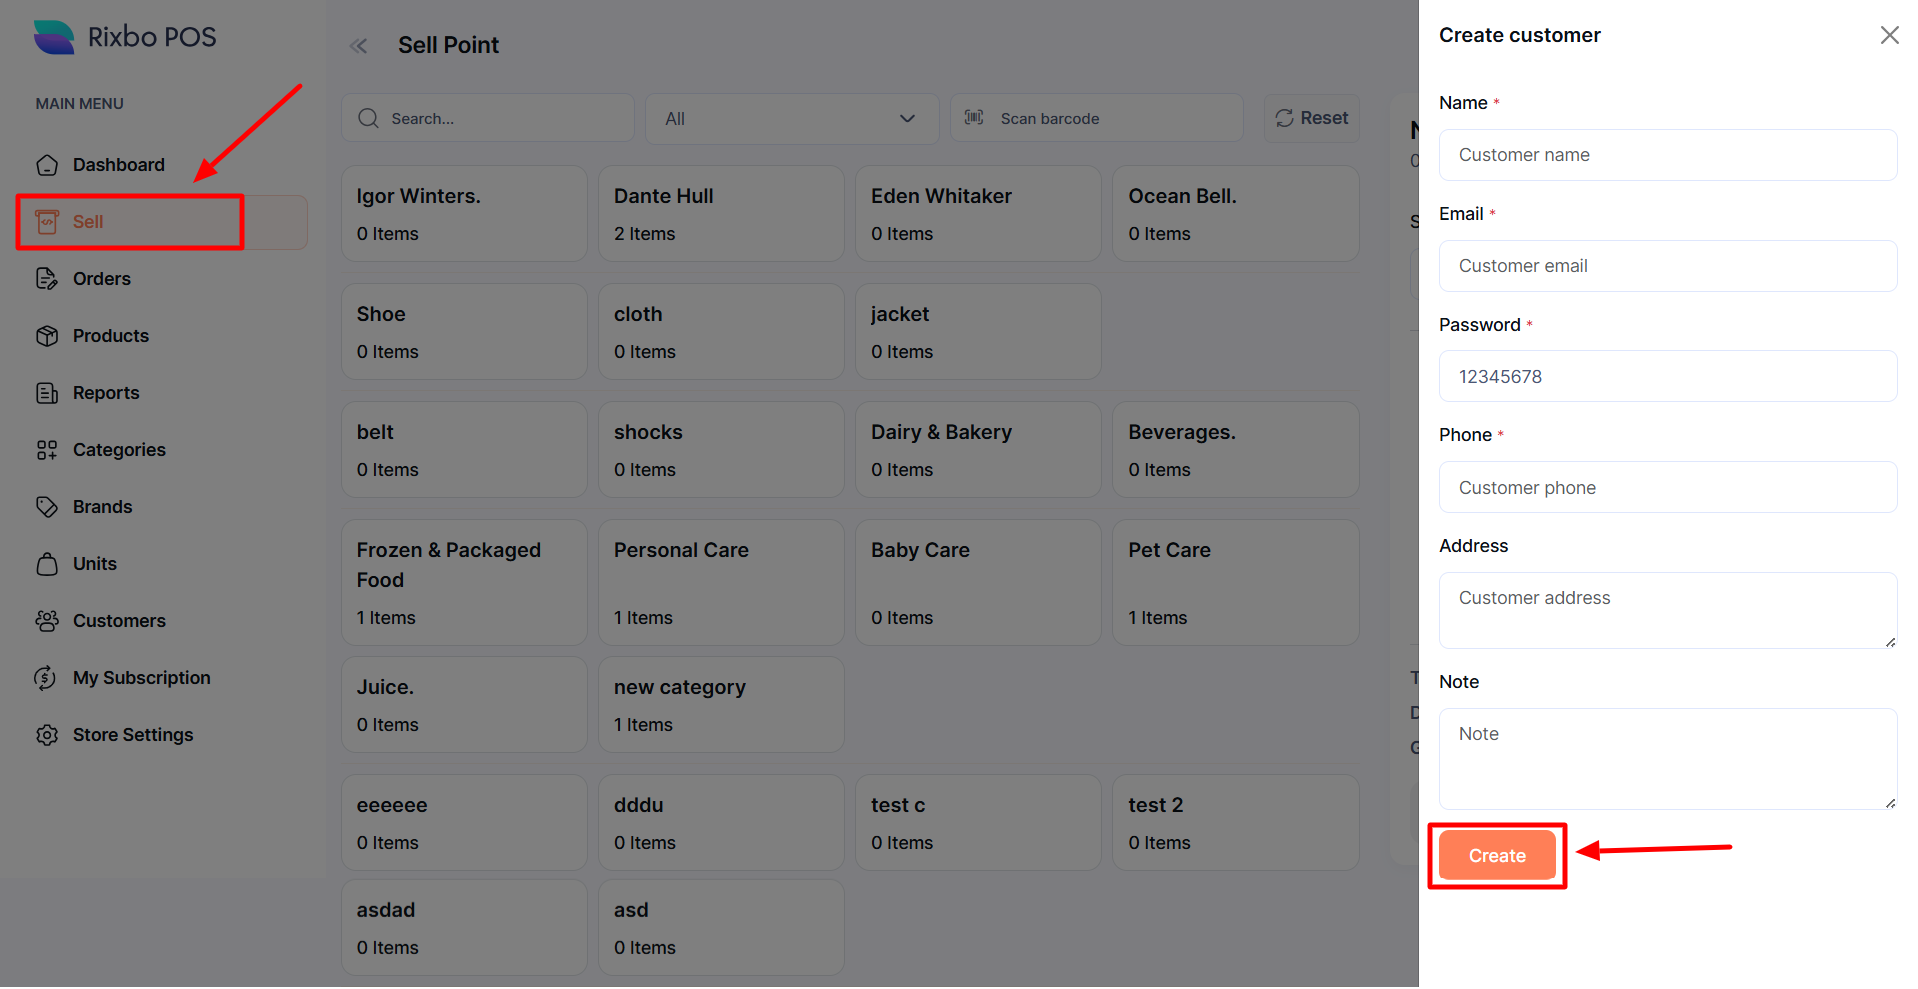
Click the plus (+) sign to add a new customer and open an entry form.
If you click the Add button, an entry form will appear to add a customer.
Fill in the following details:
Name: Enter the customer name in the relevant field.
Email: Provide a relevant email in the email address field.
Password: Provide the desired password in the password field.
Phone Number: Enter your phone number in the Phone Number field.
Address: Type the full address of the customer in the address field.
Note: Provide the desired note in the respective field.
Once all the fields are completed, click the Create button to save the information.
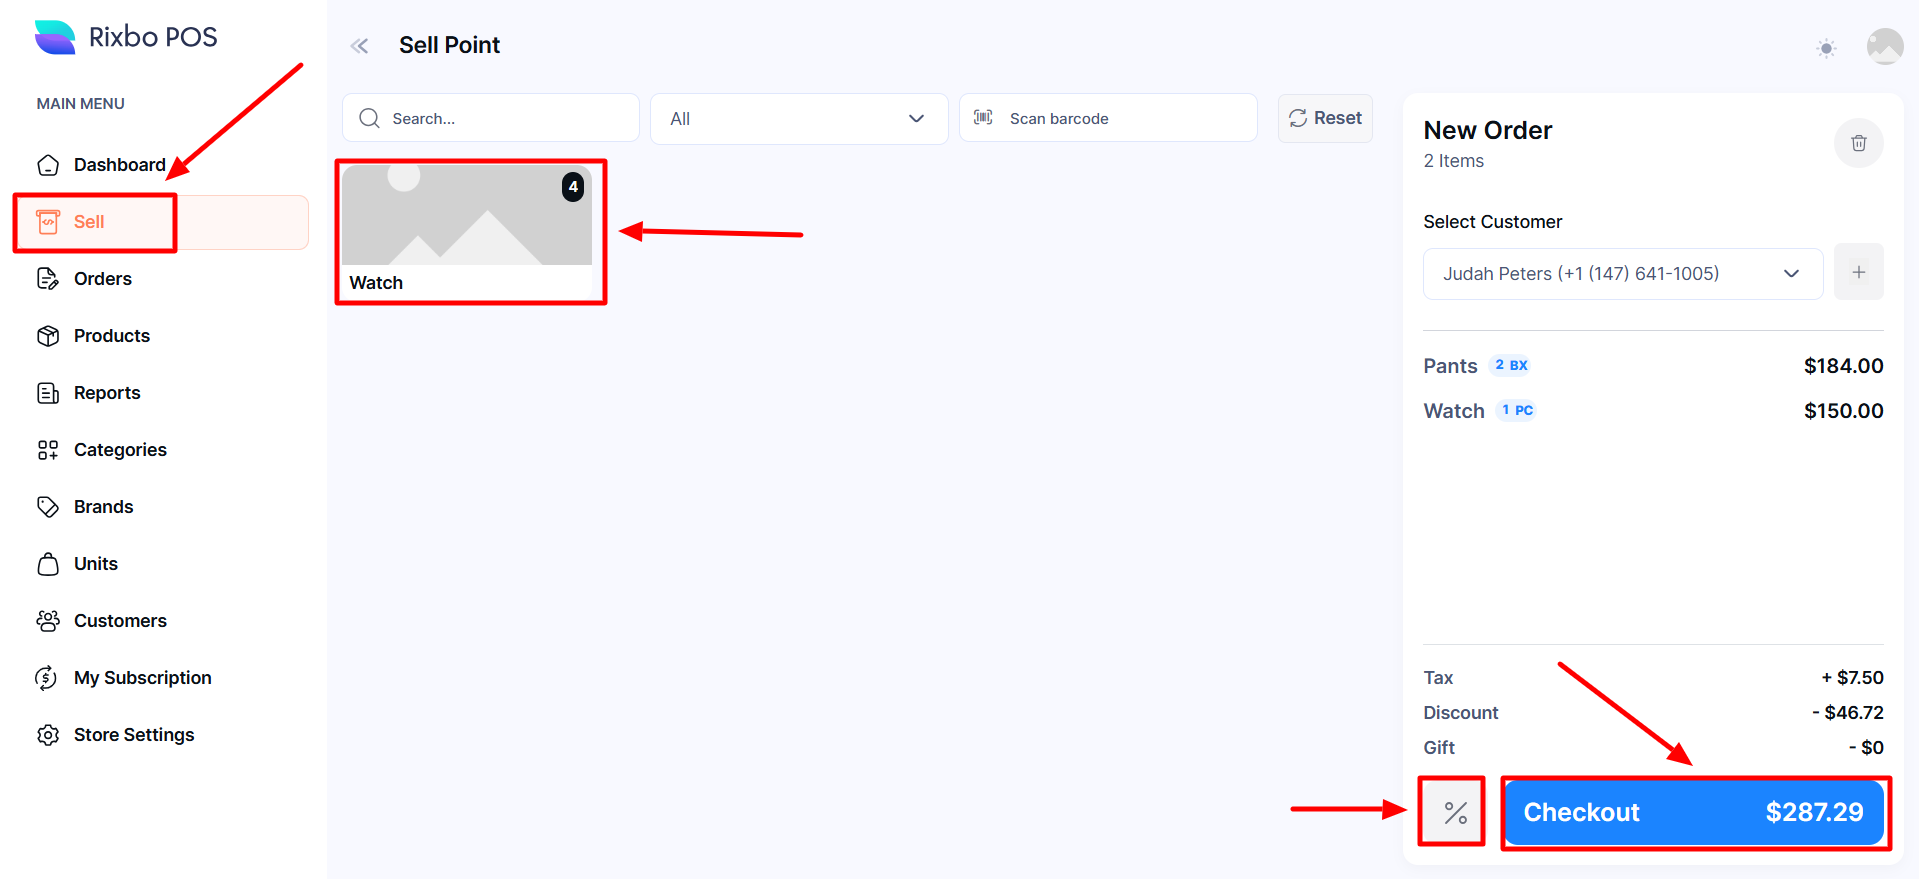
Click on the Tile, and the product will appear.
Click on the Product automatically added to the Order list, along with its pricing.
You can add a product to the order list by clicking the Barcode Scanner.
Click on the % (Percentage) sign button to settle the Tax, Discount, and Gift, and a new entry form will appear.
Fill in the following details:
Tax %: Type the Tax % in the Tax % field manually.
Discount %: Enter the desired discount % in the Discount % field manually.
Gift: Put the gift amount in the gift field manually.
Once all the fields are completed, click the Confirm button to save the information.
If you click the Delete button, all the selected order items will be deleted from the order list.
Click the Checkout button, and a new window will appear.
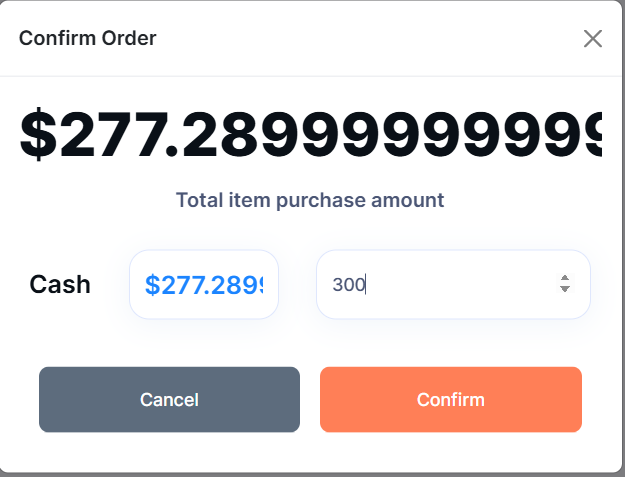
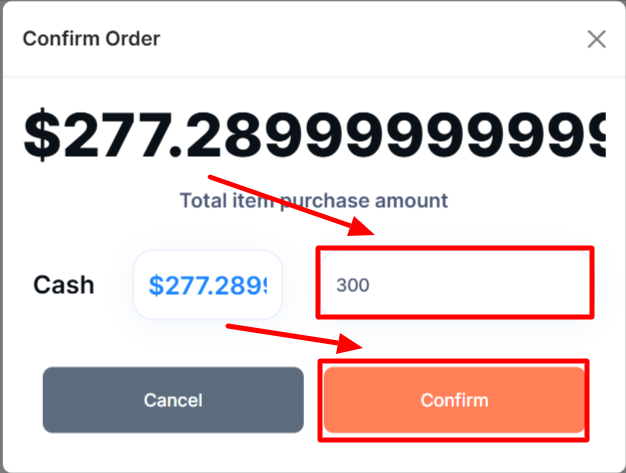
Add Cash: Put the Invoice amount (Round up) in the Add Cash field manually.
Once all the fields are completed, click the Confirm button; otherwise, click the Cancel button, and a new window will appear.
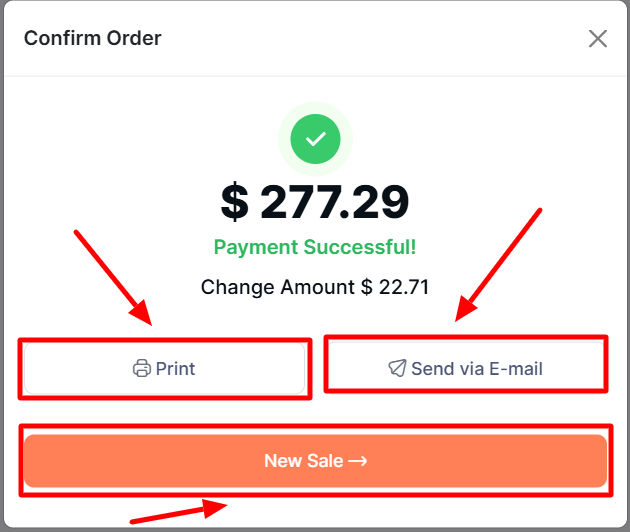
If you click the Print button, an invoice will be printed automatically.
If you click the Send via Email button, an email option will open.
Type the desired email in the email option and click the Send button.
If you click the New Sell button, it will take you back to the order page.