Advice and answers from the Rixbo Team
Click on Rixbo Apps, and a new window will appear.
Click on the Login with Email button, and a new window will appear.
Click on the Log in button, and a new navigation menu will appear.
Click on the Product button from the bottom navigation menu, and a new window will appear.
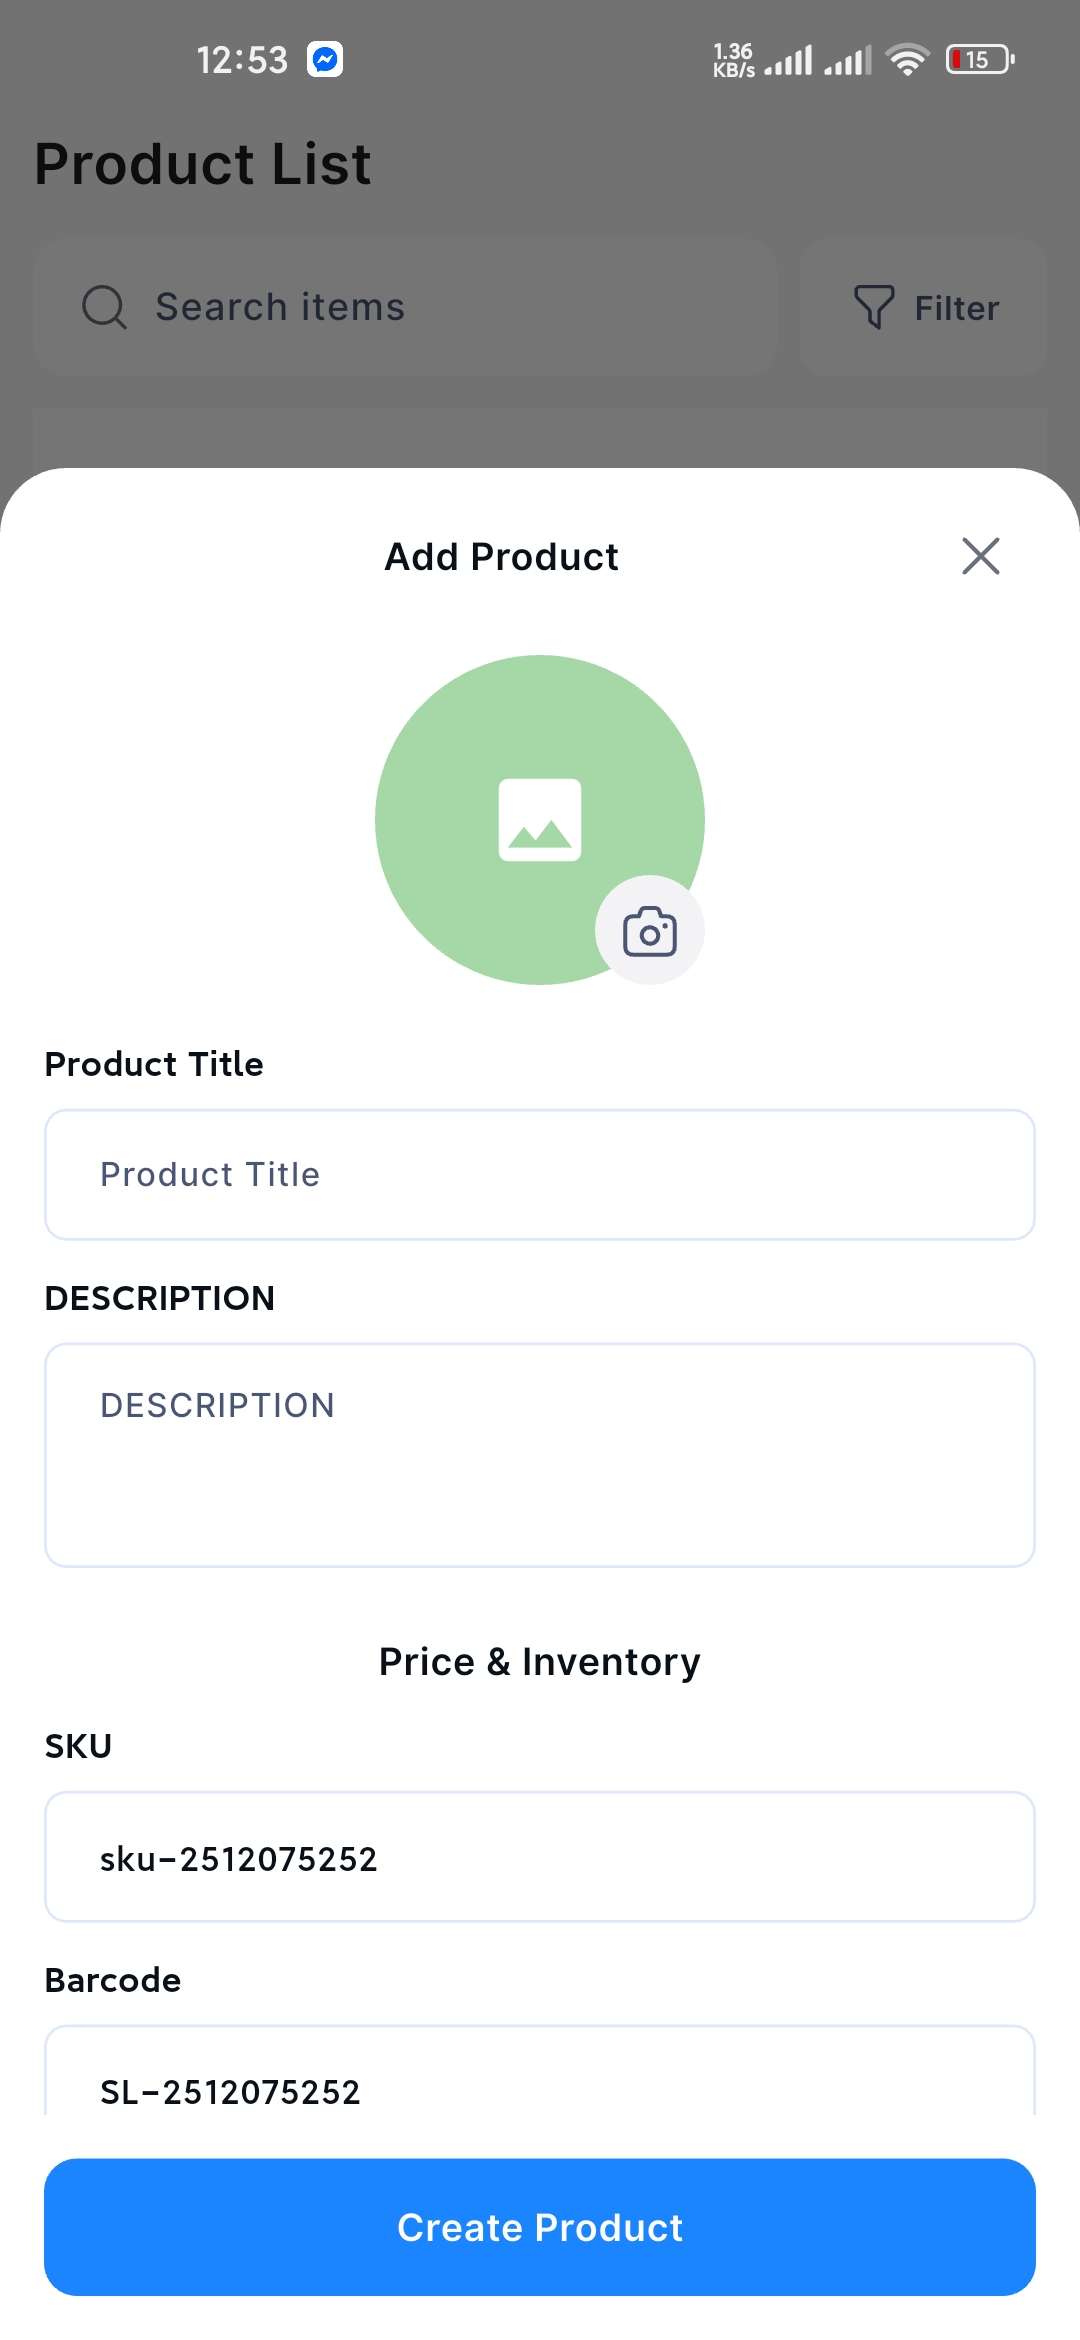
Navigate + (Plus) sign button from the bottom, and an entry form will appear.
Fill in the following details:
Product Image: Click the Camera symbols and upload the desired product Image.
Product Tile: Enter the title of the product in the respective field.
Description: Type the description in the description field.
SKU: Put the SKU number in the respective field.
Barcode: Enter the barcode in the barcode field.
Category: Select the category from the drop-down menu.
Brand: Select the brand from the drop-down menu.
Unit: Select the unit from the drop-down menu.
Stock: Add stock quantity in the respective field.
Price: Put the desired price in the respective field.
Discount Type: Select the discount type from the drop-down menu.
Discount: Enter the discount amount or percentage in the respective field.
Tax Type: Select the tax type from the drop-down menu.
Tax: Enter the tax amount or percentage in the respective field.
Once all the fields are completed, click the Create Product button to add the product.